Players have the ability to create custom designs and share them in Animal Crossing New Horizons, as well as import your previous work or check posted designs from others. In this article, we’ll discuss how to get Animal Crossing New Horizons Custom Designs app, unlock pro designs, scan QR codes, and more importantly, how to customize furniture in ACNH.
How to Get Custom Designs in Animal Crossing New Horizons?
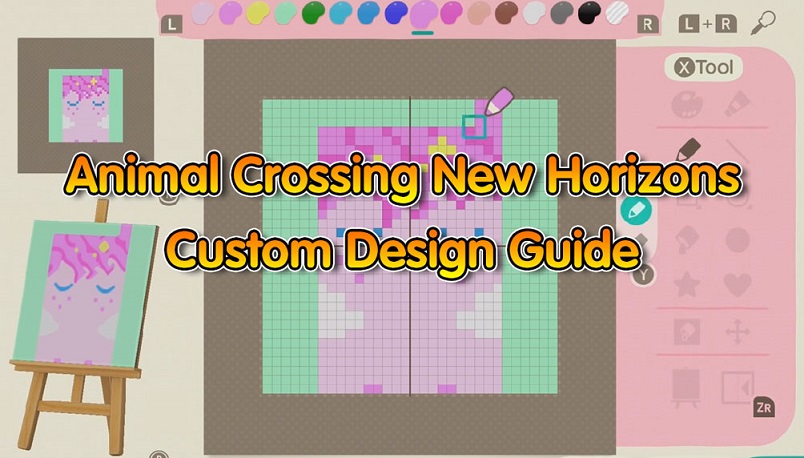
Custom Designs is a NookPhone app in Animal Crossing used to create designs, allowing players to decorate and customize the furniture, clothing, and other ACNH items with unique patterns. You can even customize your Nook Phone case with any patterns you like. There are a bunch of additional features in New Horizons, you are also allowed to import custom designs you've made in Animal Crossing: New Leaf and Animal Crossing: Happy Home Designer on 3DS, as well as download custom designs from people on the internet. There are numerous custom designs created by AC fans for Animal Crossing items customization, search for the item you want to design, you may get the best ACNH custom design.
To get the Custom Design app, a Nintendo Online Services is required. After helping Mable build the Able Sisters shop, you’ll get access to Custom Design Portal. At the kiosk, you are able to see others’ designs by searching with Design ID or Creator ID, or post a custom design.
How to Unlock Pro Designs in Animal Crossing New Horizons?
Pro Designs can be unlocked from the Nook Stop, you need to buy the Pro Design upgrade with 800 Nook Miles, and the upgrade will automatically download to your NookPhone. When opened, press the “R” or “L” button on your Switch can swap between custom and pro designs. If you are lack of Nook Miles for exchanging for the ticket, a large stock of Animal Crossing NMT is available at MTMMO.
How to Scan QR Codes in Animal Crossing?
QR codes can be used to transfer patterns and designs from Animal Crossing New Leaf and Happy Home Designer to New Horizons, check out the following steps for how to scan ACNH QR codes.
Step 1: download the Nintendo Switch Online app and link your Nintendo services
Step 2: enter the “Game-Specific Services” section, choose Animal Crossing New Horizons
Step 3: open NookLink and click “Designs”
Step 4: scan QR code and confirm your transfer
How to Customize Furniture in Animal Crossing New Horizons?
Imitate the real world, you can customize your home as you like, including the furniture. Then how do you customize your furniture in ACNH?
1. Participate in the workshop that Tom Nook holds at the Resident Services and talk to them.
2. Receive the Customization Kits can be used at any workbench from Nook.
3. Design a pattern in the Custom Design app on your NookPhone.
4. Look for a DIY workbench and select the “customize something” option.
5. Select a valid item to be customized, use the paintbrush at the end of the available designs to import your own masterpieces onto the furniture.
Players can first encounter the Customization Kits for free, for more, you need to pay 600 Animal Crossing bells to buy it in Nooks Cranny. Note that different items have different customizing options, for example, quilts and fabrics can display your custom designs, while swinging bench can only have its color altered. Most DIY furniture can be changed by using some kits. Before customizing furniture, ensure you have enough Customization Kits and available item, the page will show you all of the color options and the quantities of kits required. After completing the customization, press “+” or select “Customize” to confirm the number of kits required and color for your design.
Animal Crossing New Horizons Custom Design Tips
1. Have a physical simple in front of you to use it as a reference.
2. Set your background color to an adjacent color: press the “R” to change the color, similar colors will make it easier to fix some mistakes. And you’d better adjust the background color after all designs have been completed.
3. Start with smaller designs: you can adjust the design size accordingly and avoid your proportions being off.
4. Determine the design size early: make your design fit in the 31*31 grid, once you’ve complete a certain part, check it whether it’s within the overall design.
5. Check the overall look of the design on the lower left part of the screen frequently, and adjust where with problems.
6. Use basic shapes and imagery at first, do not make the design too complicated.