

The Blasphemous Blade is one of the most powerful PvE weapons in Elden Ring. It carries solid melee damage, a long-range fire wave skill, and built-in healing that makes tough fights far more forgiving. Unlike many weapons that force tight dodge timings or high-risk close combat, this sword rewards steady play: you hit enemies from a safe distance, restore health on kills and skill hits, and conserve your healing flasks through whole dungeons and boss gauntlets. It does not rely on bleed, frost or rot, and its core power stays consistent even after patches. This guide covers top 3 most op Elden Ring Blasphemous Blade builds for different level targets, plus the full early-game route to grab the sword before your normal progression, key buffs, gear choices, and general combat advice.
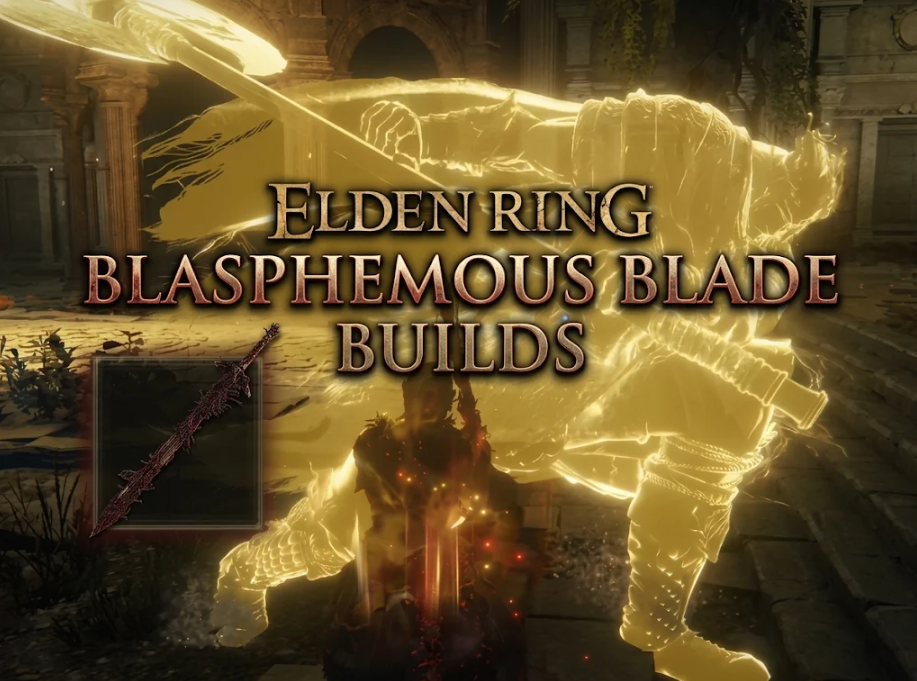
Elden Ring Best Blasphemous Blade Builds 2026
The Blasphemous Blade is not the highest single-shot damage weapon in the game, but it is one of the most forgiving. Once you get it to +10 and set up your buffs, you can clear zones and bosses while keeping most of your healing flasks untouched. If the sword feels weak, check two things first: its upgrade level, and how much Faith you have invested. Many players leave it at +5 or lower and assume the weapon itself is bad. All builds here focus on PvE first. The weapon works in PvP, but its skill has a clear wind-up that human opponents can avoid, so PvP play leans more into regular sword swings and finishers for healing.
How the Blasphemous Blade Works?
Before jumping into builds, it helps to understand its core mechanics.
Passive effect: You restore HP every time you kill an enemy. This works on regular mobs and bosses alike.
Weapon Skill – Taker's Flames: Send out a wide, forward fire wave. The wave hits all targets in its path, deals fire damage, and heals you on each successful hit. Hitting multiple enemies means multiple healing triggers at once.
Scaling and requirements: It needs 22 Strength, 15 Dexterity and 21 Faith to wield. At +10, its total attack power reaches 487, split between physical and fire damage, with B scaling in Faith. Faith boosts both the sword’s base damage and the power of Taker’s Flames, which is why every strong build invests heavily into Faith.
Upgrade type: It is a Somber weapon, so it only uses Somber Smithing Stones. Regular Smithing Stones cannot upgrade it. At +0 its damage feels weak; most players only see its true strength once it hits +8 to +10.
You earn this sword by turning in the Remembrance of the Blasphemous, dropped after beating Rykard, Lord of Blasphemy in Volcano Manor. You trade the remembrance with Enia at the Roundtable Hold, choosing the blade over Rykard’s Rancor sorcery.
How to Get Blasphemous Blade Early in Elden Ring?
Most guides treat this as a late mid-game weapon, but you can grab it much sooner using the Rya's Quest shortcut, skipping the long Mt. Gelmir climb. This path uses the Morning Star as your temporary main weapon, since it uses regular Smithing Stones and has natural bleed buildup.
1. Grab Torrent from Melina, then travel south past the Bridge of Sacrifice to collect the Morning Star from the broken black carriage. Pick up a Stonesword Key on the bridge at the same time.
2. Visit the Church of Elleh at night to get the Spirit Calling Bell and Lone Wolf Ashes from Ranni. Buy Ash of War: Quickstep from Bernahl at Warmaster's Shack for 800 runes if you want extra mobility.
3. Stop at the graveyard south of Summonwater Village to get Fevor's Cookbook [1], which unlocks sleep pot crafting. Sleep pots are critical for the Godskin Noble fight inside Volcano Manor. Each sleep pot uses one Trina’s Lily and one Mushroom, plus an empty Cracked Pot.
4. Head to Scenic Isle grace in Liurnia and speak with Rya near the Laskyar Ruins telescope. Buy her necklace from Blackguard Big Boggart at the Boilprawn Shack for 1000 runes. Do not kill Boggart; he sells Boilprawn, a useful early physical defense consumable.
5. Follow Rya to Altus Plateau. You can use either the Grand Lift of Dectus (both medallion halves) or the Ruin-Strewn Precipice Canyon route past Magma Wyrm Makar. Meet Rya at the Erdtree-Gazing Hill grace and accept her invite to Volcano Manor.
6. Join Tanith’s group to receive the Drawing-Room Key. Open the locked room in the main hall and strike the fake wall in the far corner to reveal the hidden Prison Town passage. Activate Prison Town Church grace.
7. Work through Prison Town to reach the Temple of Eiglay grace, where the Godskin Noble waits. Fight him with sleep pots: throw a pot to put him down, then land charged heavy attacks with your Morning Star to break his posture and apply bleed. Bring 3–5 pots to cover missed throws.
8. After the Godskin Noble, move onward to Rykard’s fog gate. Pick up the Serpent-Hunter spear just inside the arena. This spear has zero stat requirements and is designed for this fight. Upgrade it to at least +5 with Somber Smithing Stones before fighting Rykard. Use its Great Serpent Hunt skill from the safe arena edge, staying out of lava.
9. After defeating Rykard, take his remembrance to Enia and claim the Blasphemous Blade.
For Elden Ring rune farming on this route, Mohgwyn Palace via Varre’s quest is the fastest spot. The Pureblood Knight’s Medal unlocks the Palace Approach Ledge-Road grace, where you farm Albinauric enemies. Use a Gold-Pickled Fowl Foot to boost rune gain. Greyoll the sleeping dragon in Caelid is a slower alternative if you do not want to do Varre’s invasion steps.
Level 125 PvE Blasphemous Blade Build
This is the most common and beginner-friendly setup. It works well for PvE and casual co-op, keeps medium equip load for comfortable rolling, and balances survivability and damage. This build prioritizes Vigor first to survive boss mistakes, puts the minimum required points into Strength and Dexterity for the sword, and pours remaining points into Faith. The target level of 125 keeps it flexible for most of the game, without over-leveling for mid-to-late bosses.
Stats
Vigor: 60 (1900 HP, strong buffer against heavy boss hits)
Mind: 20 (enough FP to cast Taker’s Flames repeatedly)
Endurance: 23 (medium roll, enough to wear your armor and talismans)
Strength: 22 (minimum requirement for Blasphemous Blade)
Dexterity: 15 (minimum requirement for Blasphemous Blade)
Intelligence: 9 (base, no investment)
Faith: 55 (main damage scaling stat)
Arcane: 8 (base, no investment)
Weapons & Seals
Main Hand: Blasphemous Blade +10
Off-hand Seal: Erdtree Seal. It needs 40 Faith, which you easily hit here. If your Faith is still low early on, use the basic Finger Seal from Roundtable Hold. All buffs such as Golden Vow and Flame, Grant Me Strength use fixed percentage boosts; your seal does not make these buffs stronger, only boosts other offensive incantations.
Ash of War
You will almost always use the weapon’s native skill, Taker’s Flames. Quickstep is an optional backup Ash of War on a swapable off-hand weapon, for fights where you need extra dodging mobility.
Talismans
Shard of Alexander: +15% weapon skill damage for Taker’s Flames. Unlocked at the end of Alexander’s jar questline.
Fire Scorpion Charm: +12% fire damage, but you take +10% physical damage in return. This trade works because your healing offsets much of the risk. Found at Fort Laiedd on Mount Gelmir.
Ritual Sword Talisman: +10% attack power while your HP is full. Your build’s constant healing makes it easy to keep this bonus active. Found in Lux Ruins, Altus Plateau.
Erdtree’s Favor: Raises HP, stamina and equip load. The equip load boost often keeps you in medium roll instead of heavy roll. Swap this for Flame Drake Talisman when fighting fire-focused bosses.
Armor
Pick any medium armor set with solid fire defense that keeps your equip load under 70%. Do not rush for ultra-heavy armor; the difference in damage negation is small compared to the penalty of fat rolling.
Buffs & Physick
Incantation buffs: Golden Vow (+15% attack, +10% defense for 80 seconds), Flame, Grant Me Strength (boosts physical and fire damage).
Flask of Wondrous Physick: Flame-Shrouding Cracked Tear for extra fire damage.
Spirit Ashes
Mimic Tear: Copies your full gear, including the Blasphemous Blade. It also uses Taker’s Flames and heals itself on hits. Best for groups and most standard bosses.
Black Knife Tiche: Fast, uses Destined Death damage. Better for single tough bosses where you want a high-dodge, high-pressure summon instead of a clone.
Level 150 Faith Blasphemous Blade Build
This build pushes Faith higher for bigger fire and skill damage while still keeping strong health. It is great for endgame bosses, NG and early NG+. It is more offensive than the level 125 version.
Stats
Vigor: 40
Mind: 20
Endurance: 26
Strength: 22
Dexterity: 15
Intelligence: 9
Faith: 80
Arcane: 9
Weapons & Seals
Main Hand: Blasphemous Blade +10
Off-hand Seal: Erdtree Seal. At 80 Faith this seal gives top-tier incantation scaling.
Armor
Rakshasa Set (Shadow of the Erdtree DLC). It grants +8% damage output but also increases incoming damage by 8%. This trade works for this high-sustain build, as Taker’s Flames heals you constantly. If you do not own the DLC, use any good medium armor set that stays within medium load.
Talismans
Shard of Alexander: +15% weapon skill damage
Fire Scorpion Charm: +12% fire damage
Talisman of the Dread (DLC): +15% magma/fire skill damage, which applies directly to Taker’s Flames. If you do not have the DLC, swap to Old Lord’s Talisman to extend buff duration by 30%.
Dragoncrest Greatshield Talisman: Reduces incoming physical damage by 20%. This offsets the extra physical damage taken from Fire Scorpion Charm and the Rakshasa set penalty. Found in Haligtree, near Drainage Channel grace.
Buffs & Physick
Incantations: Golden Vow, Flame, Grant Me Strength
Physick: Flame-Shrouding Cracked Tear + Bloodsucking Cracked Tear (DLC). Bloodsucking Cracked Tear adds a large overall damage boost while slowly draining HP. Your healing from the blade easily counters the drain. Without DLC, replace Blood-Sucking Cracked Tear with Green Burst Crystal Tear for faster stamina recovery.
Level 200 Max Power Blasphemous Blade Build
This build is for late NG+ cycles, where you have extra levels to invest in all key stats. It maximizes Faith while also raising Vigor and Endurance for even more safety and armor options. It follows the same core gear logic as the level 150 build, with higher stat ceilings.
Stats
You keep Strength and Dexterity at the weapon’s minimum requirement, pump Faith as high as you want, and add extra points into Vigor and Endurance to wear heavier defensive armor without rolling poorly.
Weapons & Seals
Blasphemous Blade +10 and Erdtree Seal remain your core setup. The zero-weight Dragon Communion Seal is an optional off-hand pick if you want to save a tiny bit of equip load, though it does not improve your main buffs.
Armor
Rakshasa Set is still the offensive pick. For safer NG+ runs, swap to a high-defense medium set and drop the Rakshasa damage penalty.
Talismans, Buffs and Physick
Use the same talisman and physick setup as the level 150 build. The only difference is that higher Vigor makes the Fire Scorpion Charm and Rakshasa set tradeoffs less risky.
Standard Buff Routine for Boss Fights
This sequence maximizes your damage before you engage, and you should refresh short buffs during longer fights:
1. Cast Golden Vow first for attack and defense.
2. Cast Flame, Grant Me Strength right before entering combat, since it has the shortest duration.
3. Drink your Flask of Wondrous Physick to activate your crystal tears.
4. Summon your spirit ash if you are using one.
5. Engage, create distance, and fire Taker’s Flames at safe openings.
Boss Fight Tips for Blasphemous Blade Build
The playstyle stays consistent for most bosses, though a few enemies need small adjustments:
Morgott: Watch his long sword combo strings. Use Taker’s Flames in the gaps between attacks and rely on the skill’s healing to save flasks.
Godskin Duo: The wide fire wave hits both targets at once. Keep pressure on the boss in front of you and use the multi-hit healing to stay topped up.
Fire Giant: He has high fire resistance, so Taker’s Flames loses some power. Use regular melee swings more often and target his grounded arm in phase two.
Malekith: His black blade reduces your maximum HP and applies damage over time. Do not rely only on Vigor; use Taker’s Flames to heal quickly between his attack chains.
Hoarah Loux: Stay away during his grab attacks. Punish the recovery window after he misses a grab with Taker’s Flames.
Radagon & Elden Beast: Keep range for Radagon and punish after his hammer strikes. The Elden Beast moves constantly, and the long range of Taker’s Flames lets you hit it without chasing.
Malenia: Her passive heals when she hits you, and yours heals when you hit her. It is a sustained trade of sustain. Look for the landing window right after her Waterfowl Dance to land a Taker’s Flames wave. No build makes her easy, but this one keeps you in the fight longer.