Patch 3.2 has reworked nearly everything about Heralds in Diablo 2 Resurrected, and Season 14 of the Reign of the Warlock brings a brand-new spawn formula, refreshed Latent Sunder Charm drop tables, and reorganized Herald spawning zones. If you've been running Terror Zones and noticing Heralds behave very differently from past seasons, this guide breaks down exactly what's going on and how to plan your runs around it.
Below you'll find the new spawn math, the five Herald tiers, every spawning zone with expected Tier 5 numbers, what Heralds actually drop now, and a practical farming approach for the season.
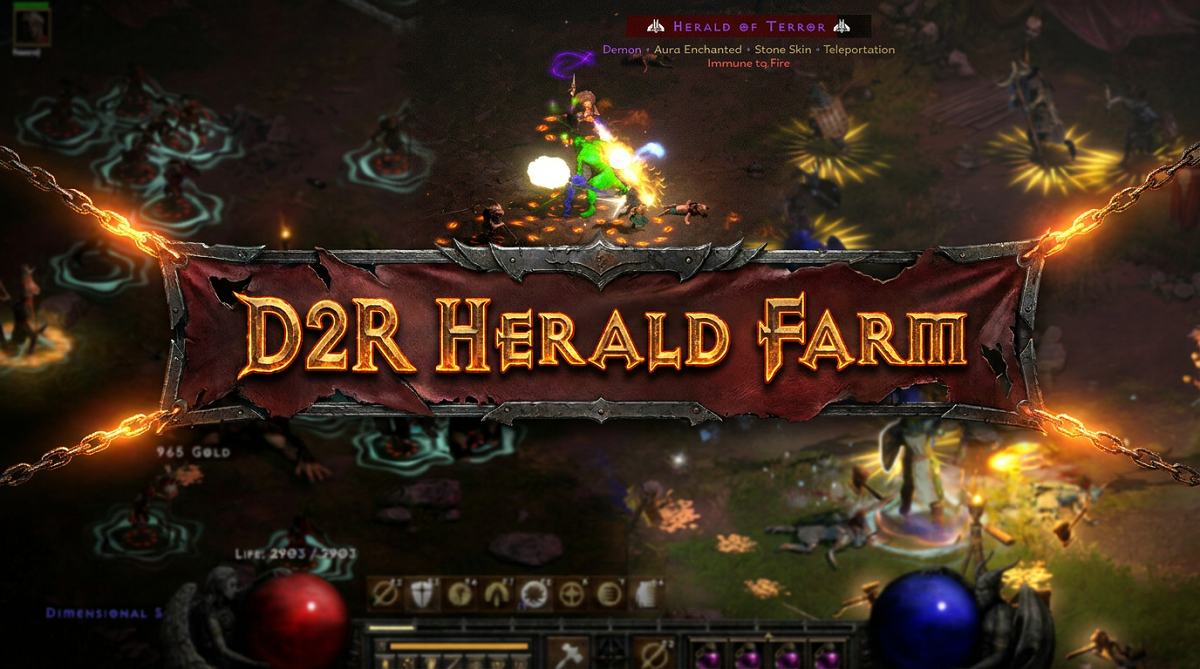
D2R Herald Farming Guide (Season 14)
A Herald is a special elite monster that can spawn in Hell Terror Zones during the Reign of the Warlock (ROTW). After every Herald you defeat, the next one spawns progressively stronger and tougher, scaling across five difficulty tiers. They are no longer the only source of Latent Sunder Charms, and after Patch 3.2 they tend to drop mostly blue items with a smaller chance at uniques, sets, and rares.
With that quick overview out of the way, now let's walk through the new spawn formula, Herald tiers, spawning zones with expected rates, drop tables, and the most efficient farming routine for Season 14.
New Herald Spawn Mechanics in D2R Season 14
The old "2% chance per elite kill" model is gone. Spawn chance now depends entirely on your zone completion percentage, how much of the current Herald spawning zone you've cleared.
The Logistic Function
For each Herald Tier, the game uses a Logistic Function (an S-shaped sigmoid curve) with these variables:
y = chance to spawn a Herald
a = zone_chance_asymptote
k = zone_chance_vertical_shift
m = zone_chance_slope
x0 = zone_chance_midpoint
e = Euler's number
x = zone completion percentage
Only x changes based on what the player does. Every other parameter is fixed by the game.
Logistic Function Parameters by Tier
| Parameter | 1 Herald | 2 Heralds | 3 Heralds | 4 Heralds | 5 Heralds |
|---|---|---|---|---|---|
| Slope | 0.04 | 0.04 | 0.04 | 0.05 | 0.08 |
| Midpoint | 56 | 44 | 44 | 47 | 42 |
| Asymptote | 10 | 7 | 7 | 4 | 2.5 |
| Vertical shift | -4.6 | -3.4 | -3.4 | -1.2 | -0.13 |
What the Curve Looks Like
When the function is plotted from 0% to 100% zone completion:
Tier 1 and Tier 2 stay at 0% until roughly 40–50% completion, then climb steeply, peaking near 4% per kill at 100%.
Tier 3 and Tier 4 start a bit earlier and top out around 2.5–3%.
Tier 5 starts climbing as early as 5–10% completion and gradually approaches 2.346% at full clear.
There is no "sweet spot" - every additional kill increases the spawn chance for the next one.
Tier Order and Reset Rules
Even though Tier 5 has the earliest non-zero chance, the game forces a strict order. Tier 2 cannot spawn before Tier 1 appears, Tier 3 needs Tier 2, and so on. Once a Herald spawns, the kill count resets to 0 for the next tier in line.
A Practical Cow Level Example
The Cow zone averages 511 monsters. Applying the Tier 1 formula:
Expected kills before Tier 1 appears: 353 (about 69% completion).
After spawning, only 158 cows remain, equal to 30% of a fresh zone.
Tier 2 doesn't begin rolling until 43% completion, so the remaining cows have effectively 0% chance.
That's why running a single Terror Zone almost always nets a Tier 1, occasionally a Tier 2, and almost never anything higher.
True Zone Completion Footnote
In game code, completion isn't just "% of monsters killed." It's actually based on how many rooms have been populated and how many spawned monsters in those rooms have been killed. Maps generate room-by-room as you walk, so the real percentage is slightly higher than the simple monster-count approximation used here.
Herald Tiers in Season 14
There are five Herald tiers, each progressively stronger and with better Sunder drop odds:
Tier 1 — Herald of Fright
Tier 2 — Herald of Dread
Tier 3 — Herald of Fear
Tier 4 — Herald of Horror
Tier 5 — Herald of Terror
Tiers must spawn in sequence. You'll see Tier 1 first, then Tier 2 in a different zone, and so on, until Tier 5 starts repeating after the first four are cleared. Once you reach Tier 5, every subsequent Herald in your session will be a Tier 5 unless the game resets.
Herald Spawn Locations (Zones) & Rate
A "Herald spawning zone" is not the same as a Terror Zone or an Area Level. In desecratedzones.json, each spawning zone is defined by its zone_data_id. Levels sharing an ID belong to the same spawning zone, and each level has its own weight toward completion percentage.
How Spawning Zones Group
| Terror Zone | Area Level | ID Zone | Weight |
|---|---|---|---|
| Blood Moor / Den of Evil | Blood Moor | Act1-BloodMoor | 1 |
| Den of Evil | Act1-BloodMoor-Cave | 1 | |
| Cathedral / Catacombs / Inner Cloister | Inner Cloister | Act1-Catacombs | 0.5 |
| Cathedral | Act1-Catacombs | 1 | |
| Catacombs Lvl 1 | Act1-Catacombs | 2 | |
| Catacombs Lvl 2 | Act1-Catacombs | 2 | |
| Catacombs Lvl 3 | Act1-Catacombs | 2 | |
| Catacombs Lvl 4 | Act1-Catacombs | 1 | |
| Barracks / Jail | Barracks | Act1-Barracks | 1 |
| Jail Lvl 1–3 | Act1-Jail | 1 each | |
| Far Oasis / Maggot Lair | Far Oasis | Act2-FarOasis | 1 |
| Maggot Lair Lvl 1 | Act2-FarOasis-LairA | 1 | |
| Maggot Lair Lvl 2 | Act2-FarOasis-LairB | 1 | |
| Maggot Lair Lvl 3 | Act2-FarOasis-LairC | 1 |
A few patterns to note:
Blood Moor and Den of Evil: One Terror Zone, two independent spawning zones.
Cathedral, Catacombs, Inner Cloister: One huge combined zone with weighted levels. Clearing Cata 2, 3, and 4 only puts you at 5/8.5 = 58% completion.
Barracks vs Jail: Two separate spawning zones.
Maggot Lair levels: Each level is its own independent spawning zone.
Expected Tier 5 Heralds Per Full Terror Zone Clear
Across a full game clear, the expected total is around 91 Tier 5 Heralds (closer to 87 in practice, since the first 3–4 zones go toward unlocking Tiers 1–4).
Notable averages by zone:
Worldstone Keep and Throne - 2.05 (highest)
Cow Level - 1.94
Bloody Foothills - 1.92
Flayer Jungle - 1.90
Arcane Sanctuary - 1.90
Nihlathak's Temple / Halls of Anguish - 1.80
Durance of Hate - 1.79
Real Tal Rasha's Tomb - 1.76
Frozen Tundra - 1.72
Cathedral / Catacombs / Inner Cloister - 1.72
Halls of Pain - 1.78
Halls of the Dead - 1.68
Spider Cavern - 0.56 (lowest)
The minimum expected T5 count is Spider Cavern at 0.56. The maximum is Worldstone Keep and Throne at 2.05. The average across all zones is 1.23 per zone.
If you're hunting only Tier 1 or Tier 2 in a single Terror Zone, treat most zones as roughly 1 Herald per run.
Herald Drops & Drop Rate (What Heralds Drop)
Heralds remain the most direct route to Latent Sunder Charms, even though their general loot table has been pulled back hard.
General Loot Quality
Blizzard reduced the Herald Unique/Set/Rare factor from 989 down to 800. Combined with rearranged Treasure Classes, this means Heralds now drop mostly blue items, with much weaker odds at uniques, sets, and rares than other elite monsters of similar level. According to the patch notes, they were supposed to drop like Super Uniques, but the Rare Factor sits at around 850 while Super Uniques sit at 972, a noticeable gap that explains the magic-heavy results.
Sunder Charm Drop Paths from Heralds
Heralds drop Sunder Charms through two paths:
Normal Path: Standard Jewel C Treasure Class, where a Magic Grand Charm can roll into a Unique Grand Charm.
Specialized Path: A dedicated Sunder Charm Treasure Class that only Heralds carry.
Latent Sunder Drop Odds Per Herald Kill
Player Count has no effect, and Magic Find barely matters since most Sunder rolls come from the specialized table.
Tier 1 (Herald of Fright) and Tier 2 (Herald of Dread):
| Charm | 0 mf | 150 mf | 300 mf | 4200 mf |
|---|---|---|---|---|
| Cold Rupture | 1:341 | 1:340 | 1:339 | 1:337 |
| Flame Rift | 1:341 | 1:340 | 1:339 | 1:337 |
| Crack of the Heavens | 1:510 | 1:507 | 1:505 | 1:502 |
| Rotting Fissure | 1:846 | 1:837 | 1:833 | 1:823 |
| Bone Break | 1:1672 | 1:1636 | 1:1620 | 1:1584 |
| Black Cleft | 1:3266 | 1:3131 | 1:3072 | 1:2945 |
| Any Latent Sunder | 1:101 | 1:100 | 1:100 | 1:99 |
Tier 3 (Herald of Fear) and Tier 4 (Herald of Horror):
| Charm | 0 mf | 150 mf | 300 mf | 4200 mf |
|---|---|---|---|---|
| Cold Rupture | 1:228 | 1:227 | 1:226 | 1:225 |
| Flame Rift | 1:228 | 1:227 | 1:226 | 1:225 |
| Crack of the Heavens | 1:340 | 1:338 | 1:337 | 1:335 |
| Rotting Fissure | 1:564 | 1:558 | 1:555 | 1:549 |
| Bone Break | 1:1115 | 1:1091 | 1:1080 | 1:1056 |
| Black Cleft | 1:2178 | 1:2088 | 1:2049 | 1:1964 |
| Any Latent Sunder | 1:68 | 1:67 | 1:67 | 1:66 |
Tier 5 (Herald of Terror):
| Charm | 0 mf | 150 mf | 300 mf | 4200 mf |
|---|---|---|---|---|
| Cold Rupture | 1:171 | 1:170 | 1:170 | 1:169 |
| Flame Rift | 1:171 | 1:170 | 1:170 | 1:169 |
| Crack of the Heavens | 1:255 | 1:254 | 1:253 | 1:251 |
| Rotting Fissure | 1:423 | 1:419 | 1:417 | 1:412 |
| Bone Break | 1:836 | 1:818 | 1:810 | 1:792 |
| Black Cleft | 1:1634 | 1:1566 | 1:1537 | 1:1473 |
| Any Latent Sunder | 1:51 | 1:50 | 1:50 | 1:50 |
The simple cheat sheet:
Tier 1 / Tier 2 - 1 in 100
Tier 3 / Tier 4 - 1 in 67
Tier 5 - 1 in 50
Sunder Drops from Any Monster (New This Season)
Looking at uniqueitems.txt, the special condition that locked Sunder Charms to Heralds has been removed. Any monster that can drop Gheed's Fortune can now drop a Sunder Charm. The game runs through Treasure Class selection until a Grand Charm is chosen, then uses Magic Find to roll for a Unique Grand Charm.
Important points:
Sunder Charms drop with equal probability from regular monsters — no Cold/Fire bias like Herald drops.
Gheed's Fortune is now around 7x rarer because Sunder Charms were added to the same Unique Grand Charm pool.
Sunder Charms can drop in both Hell and Nightmare difficulty, as long as area level is 69 or higher (TZ 69+ Nightmare games qualify).
Player Count and Magic Find both affect this drop path.
Sunder Drop Chance from Hell Act Bosses (350 MF)
| Boss | Players 1 | Players 3 | Players 5 | Players 7 |
|---|---|---|---|---|
| Andariel TZ | 1:255 | 1:181 | 1:167 | 1:165 |
| Andariel | 1:277 | 1:195 | 1:183 | 1:180 |
| Baal TZ | 1:393 | 1:365 | 1:364 | 1:364 |
| Duriel TZ | 1:407 | 1:395 | 1:394 | 1:393 |
| Duriel | 1:414 | 1:401 | 1:400 | 1:400 |
| Baal | 1:509 | 1:466 | 1:465 | 1:465 |
| Mephisto TZ | 1:516 | 1:473 | 1:472 | 1:472 |
| Diablo TZ | 1:516 | 1:473 | 1:472 | 1:472 |
| Diablo | 1:518 | 1:474 | 1:473 | 1:473 |
| Mephisto | 1:529 | 1:484 | 1:483 | 1:483 |
Act Boss returns usually cap at Players 5. TZ Andariel pulls way ahead of the other bosses for Sunder hunting.
How To Farm Heralds Effectively in D2R Season 14?
There are now two parallel routes for Sunder farming this season — direct Herald hunting and general Magic Find. The approach you pick depends on your build, available time, and gear.
Route 1: Hunt Heralds in Full Game Clears
Best for players going after multiple Tier 5 Heralds and high Sunder volume per session.
Run a full clear across all Hell Terror Zones to push Tier 1–4 spawns out of the way.
Once you reach Tier 5, prioritize zones with the highest expected T5 totals: Worldstone Keep and Throne (2.05), Cow Level (1.94), Bloody Foothills (1.92), Flayer Jungle (1.90), Arcane Sanctuary (1.90), Nihlathak's Temple (1.80), and Durance of Hate (1.79).
Fully clear each Herald spawning zone - partial clears waste your completion percentage.
With ~87 Tier 5 Heralds per full clear at 1:50 odds, expect about 0.57 P1 game clears per Sunder Charm drop on average - far better than the previous 9.4–13.7 clear average.
Route 2: Single Terror Zone Loops
Best if your build is on the weaker side or you only have a short session.
Each isolated Terror Zone gets you about one Tier 1 Herald, occasionally a Tier 2, and almost never higher.
Sunder odds from Tier 1 / Tier 2 are 1:100 per kill.
Pick zones with high monster density and strong general loot - Cow Level, Worldstone Keep, Arcane Sanctuary, and Flayer Jungle are solid all-rounders.
Route 3: Magic Find on Act Bosses
Best for players with strong MF gear who don't want to deal with tough Herald fights.
Hell Andariel TZ at Players 5 with 350 MF sits at 1:167, by far the best non-Herald Sunder rate.
Run Players 5 instead of Players 7 to balance kill speed with drop odds.
Pair Andariel runs with Mephisto, Duriel, or Baal as your build allows.
Route 4: Mixed Farming
The most flexible path for casual sessions.
Clear Terror Zones for experience, runes, high-level uniques, and skiller charms.
Take down any Herald that pops, since they remain the most efficient single-monster Sunder source.
Pick up any random Sunder drops from regular monsters as a bonus.
Practical Tips
Build for survivability before pure damage — Heralds hit harder at higher tiers.
Carry an Item Find Barb or extra MF gear if you can swap, since Herald Magic Find only barely matters but boss MF matters a lot.
Don't bother farming non-TZ Nightmare areas for Sunders — TZ 69+ Nightmare games are the only Nightmare option that works.
Clear in groups of adjacent rooms to push your true zone completion percentage upward as fast as possible.
Season 14's Herald system trades the wild swings of the old 2% elite-kill formula for a near-guaranteed spawn tied to your zone progress. You'll almost always get at least one Herald per spawning zone, but climbing to Tier 5 requires moving through multiple zones in sequence.
For Sunder Charm hunters, the math is heavily in your favor compared to previous seasons. Around 87 Tier 5 Heralds per full clear at 1:50 odds means roughly one Sunder per two full game clears, plus all the bonus drops from regular monsters and Act Bosses. Whether you specialize in Heralds, lean on TZ Andariel runs, or mix the two, you'll see far more Sunder Charms this season than at any point during prior patches.