Diablo 4 Season 14 has arrived with a wave of buffs across nearly every class, refined progression systems, and fresh endgame content that rewards efficient play. Many players want to know how to progress from a fresh character all the way to Torment 12 in record time, ideally within a single day of dedicated play. This guide compiles the best strategies, power sources, and pacing tips gathered from top players who have already pushed to the highest difficulty tier. Before jumping into the step-by-step methods, let's take a look at what Torment actually means in this new season.
Diablo 4 Season 14 Fast Torment 1-12 Progression Guide (Season of Death Awakening)
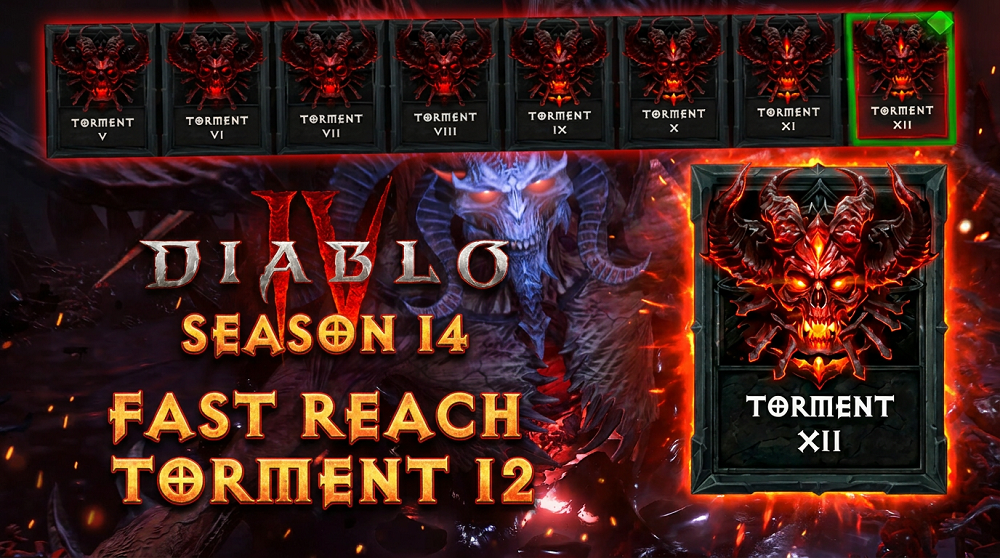
Torment is the endgame difficulty ladder in Diablo 4, and Season 14 keeps the familiar 12-tier structure while adjusting drop rates and rewards along the way. Each Torment tier brings tougher enemies, better loot pools, and access to new systems: Torment 1 opens up 850 item power gear, Torment 2 gives temper manuals, Torment 3 grants set charms, and higher tiers ramp up ancestral drop rates plus greater affix loot. The difficulty scaling is not linear at all, the early Torments require roughly double the damage to advance, while going from T10 to T12 demands about 23 times more damage. Torment 10 acts as the soft cap for loot and reward efficiency, since experience gains and GA drop rates only climb around 16% between T10 and T12 despite the massive difficulty spike. With that context in mind, let's move on to the first major step of the journey.
How To Reach Torment 1 in Diablo 4 Season 14?
Getting to Torment 1 starts with hitting level 70 as fast as possible, and this stage is all about efficient leveling paired with quick gear upgrades.
Level to 70 With the Hellworm Method
The fastest route to level 70 comes from the Hell Tide worm strategy, which was the top XP method last season and returns even stronger in Season 14. The steps are simple:
Put two points in Hell Tide, take Hellmouth, then Wyrm and Rot on your Season Blessings.
Pull up Hell Tides.com to see all current worm spawns on the map.
Run one rift and kill enough enemies to fill half the threat bar so worms begin spawning.
Move between worm spawn locations, killing the worms and the maggots that drop the XP orbs.
A skilled player can finish this in about one and a half to two hours, while a more casual pace lands somewhere in the sub 2.5 to 3 hour range. This method is reliable no matter the class, though some builds clear packs faster than others.
Fix Your Gear the Moment You Enter Torment 1
Once you hit level 70 and step into Torment 1, your first priority is item power. Any piece below 850 needs to be replaced immediately, because item power dictates your baseline toughness and DPS.
Head to the blacksmith and use Forge Equipment. Even magic gear works here since it will all roll at 850 at level 70.
Use every Obol you saved during leveling to gamble rings, boots, pants, and especially weapons.
Focus first on your weapon since it drives the majority of your damage output.
Take a solid rare and upgrade it to legendary at the cube, or add an aspect as a temporary band-aid.
Mercenaries for Instant Survivability
Recruiting the right mercenaries gives you a huge power boost with almost no effort. The two recommended picks are:
Raheir — provides Ground Slam, all resistances, and the Bastion bubble that soaks damage. With Inspiration, enemies inside Ground Slam take extra damage on a multiplier, and standing in Bastion boosts your damage too.
Aldkin — brings Field of Anguish, which applies roughly 20% reduced damage to affected enemies.
Together, these two carry your survivability during the shaky opening hours when your gear is still catching up.
Now that you have Torment 1 handled, the real climb toward the endgame begins.
How To Fast Reach T12 in Diablo 4 Season 14?
Reaching T12 in a single 15-hour session is realistic if you follow a smart progression plan. The idea is to constantly ask yourself one question: what is the next biggest upgrade I can go for right now?
Follow the Torment Benchmarks
Top players have posted clear time-to-torment benchmarks that you can use as pacing goals after hitting level 70:
Torment 4 — around 1 hour 15 minutes, roughly Paragon 70
Torment 8 — around 3.5 hours
Torment 10 — around 8.5 hours, roughly Paragon 160
Torment 11 — another 4 to 5 hours after T10
Torment 12 — reachable within 15 hours if you keep pace
Do not push into a higher Torment if your pit runs slow down beyond 3 minutes or if layer bosses take much more than 30 seconds. Blasting through content in under 15 seconds per pack is a green light to move up.
Progress Gear in Layered Steps
Your power climb follows a clean sequence: 850 rares → 850s with the right stats → 900 ancestrals → 900s with GA → uniques → mythics. Along the way, keep these ideas in mind:
Multiplier stats like DoT multi and crit multi roll the same value on 850 and 900 items, so keeping 850s in ring, amulet, and glove slots saves materials.
Prioritize 900 ancestrals on your weapon, helm, chest, and pants where defensive stats scale up.
Life rolls, armor rolls, and all-resistance are the defensive trinity — put all three on every defensive slot.
Adding a life roll to a ring or amulet not only boosts toughness but also makes crafting way easier by spreading stats across multiple categories.
Toughness Targets for Each Torment
Damage alone will not carry you through the higher tiers. Monster damage scales 60% multiplicatively between each Torment, so your toughness must climb with it:
Torment 6 — around 320k toughness
Torment 8 — around 800k toughness
Torment 10 — around 2 million toughness
Torment 12 — around 5 million toughness
Rush Legendary Paragon Nodes First
The Paragon board is one of the biggest power sources available before Paragon 200. Use the Board Rush strategy:
Path from legendary node to legendary node using the shortest routes.
Pick up glyph sockets only when they sit close to a legendary node.
Aim to have all main legendary nodes plus two glyphs slotted by around Paragon 150–166.
Do a full respec around Paragon 200 to pick up remaining glyphs and defensive nodes.
Season Rank, Reputation, and Mercenary Rewards
The Season Rank system hands you skill points, paragon points, ashes, and a mythic unique cache at the third tier. Always keep the reputation Season Blessing fully upgraded before turning in whispers, leveling glyphs, or doing any objective that grants rep. Don't ignore mercenary rapport either — claim rewards regularly for Pale Marks used in bartering, and swap mercs after they're fully leveled to pull rewards from the others.
Farm Key Uniques and Set Charms
A single build-defining unique can jump you an entire Torment tier by itself. Items like Spirit Bond with Kepeleke or Eagle Horn for the Pen Shot Rogue are examples of gear that multiplies output several times over.
Wait until Torment 3 or 4 before farming layer bosses so you get more drops per key.
Use Ball of Lies for target-specific bosses like Astaroth or Bartuk.
Grouping up gives one extra drop per additional player, so team farming is much more efficient.
Save Superior Keys for the Corrupted Reaper, the new boss and best source of RNG mythic drops.
For set charms, farm Undercity tributes and the talisman chest in Infernal Hordes. Use the amalgamate function to turn three random charms into one, or roll a duplicate charm into a different set piece using Infused Heraldric Resin.
Aspects, Gems, and Cube Crafting
Obol gambling remains one of the fastest ways to grab specific aspects. Target the cheapest slots that carry the aspect you want — for example, gamble chest pieces at 25 obols instead of helms at 50. The cube also lets you upgrade rares to legendary using primordial dust and roll for a specific aspect type.
For gems, the season has boosted drop rates across all sources. Slot three gems of the same resistance type to patch your lowest defense, and use gem fragment conversion at the jewel crafter when you need a specific type.
Set Up a Loot Filter Early
Time spent sorting loot in town is time not spent progressing. Build a loot filter that gets stricter as you climb:
Torment 6 — hide blue and rare talismans, plus white and blue non-ancestrals.
Torment 8 — hide all non-ancestrals except uniques for salvage.
Torment 10+ — hide non-ancestrals including legendaries, and filter out zero-GA items.
Torment 12 — hide non-build uniques you no longer need for forgotten souls.
Always keep Cor'ix upgrades, mythics, and ancestral uniques visible no matter what. A good filter alone can save hours of time in town.
Tempering and Masterworking
Tempering gives free power on gear you plan to keep. Go max life on all armor pieces as a default defensive move, and use flat offensive tempers on weapons and boots for your main damage skill. Masterworking is best saved for gear you're committed to long-term since it costs heavy gold and materials, throw it on your ancestral weapon first when you have the resources.
By stacking each of these power sources — Paragon legendary nodes, item power upgrades, key uniques, set charms, gems, aspects, and defensive scaling — you'll check off one Torment tier after another until you're standing in T12 farming for GA drops and mythic uniques. Stay adaptable, keep asking what the next big upgrade is, and enjoy the ride through Season of Death Awakening.